digital art affairs #1
digital art affairs #1
analog computer screen effects (take one) in affinity designer (v2)


First, this is based on another tutorial >here< for photoshop. If you have photoshop, follow that tutorial. This link is also where I got the patterns I’m using to create this effect!!
Second, I’ve only tested this process on my own art, so I don’t know how it’ll look on photographs, but if it looks good then go for it, right?
The Process
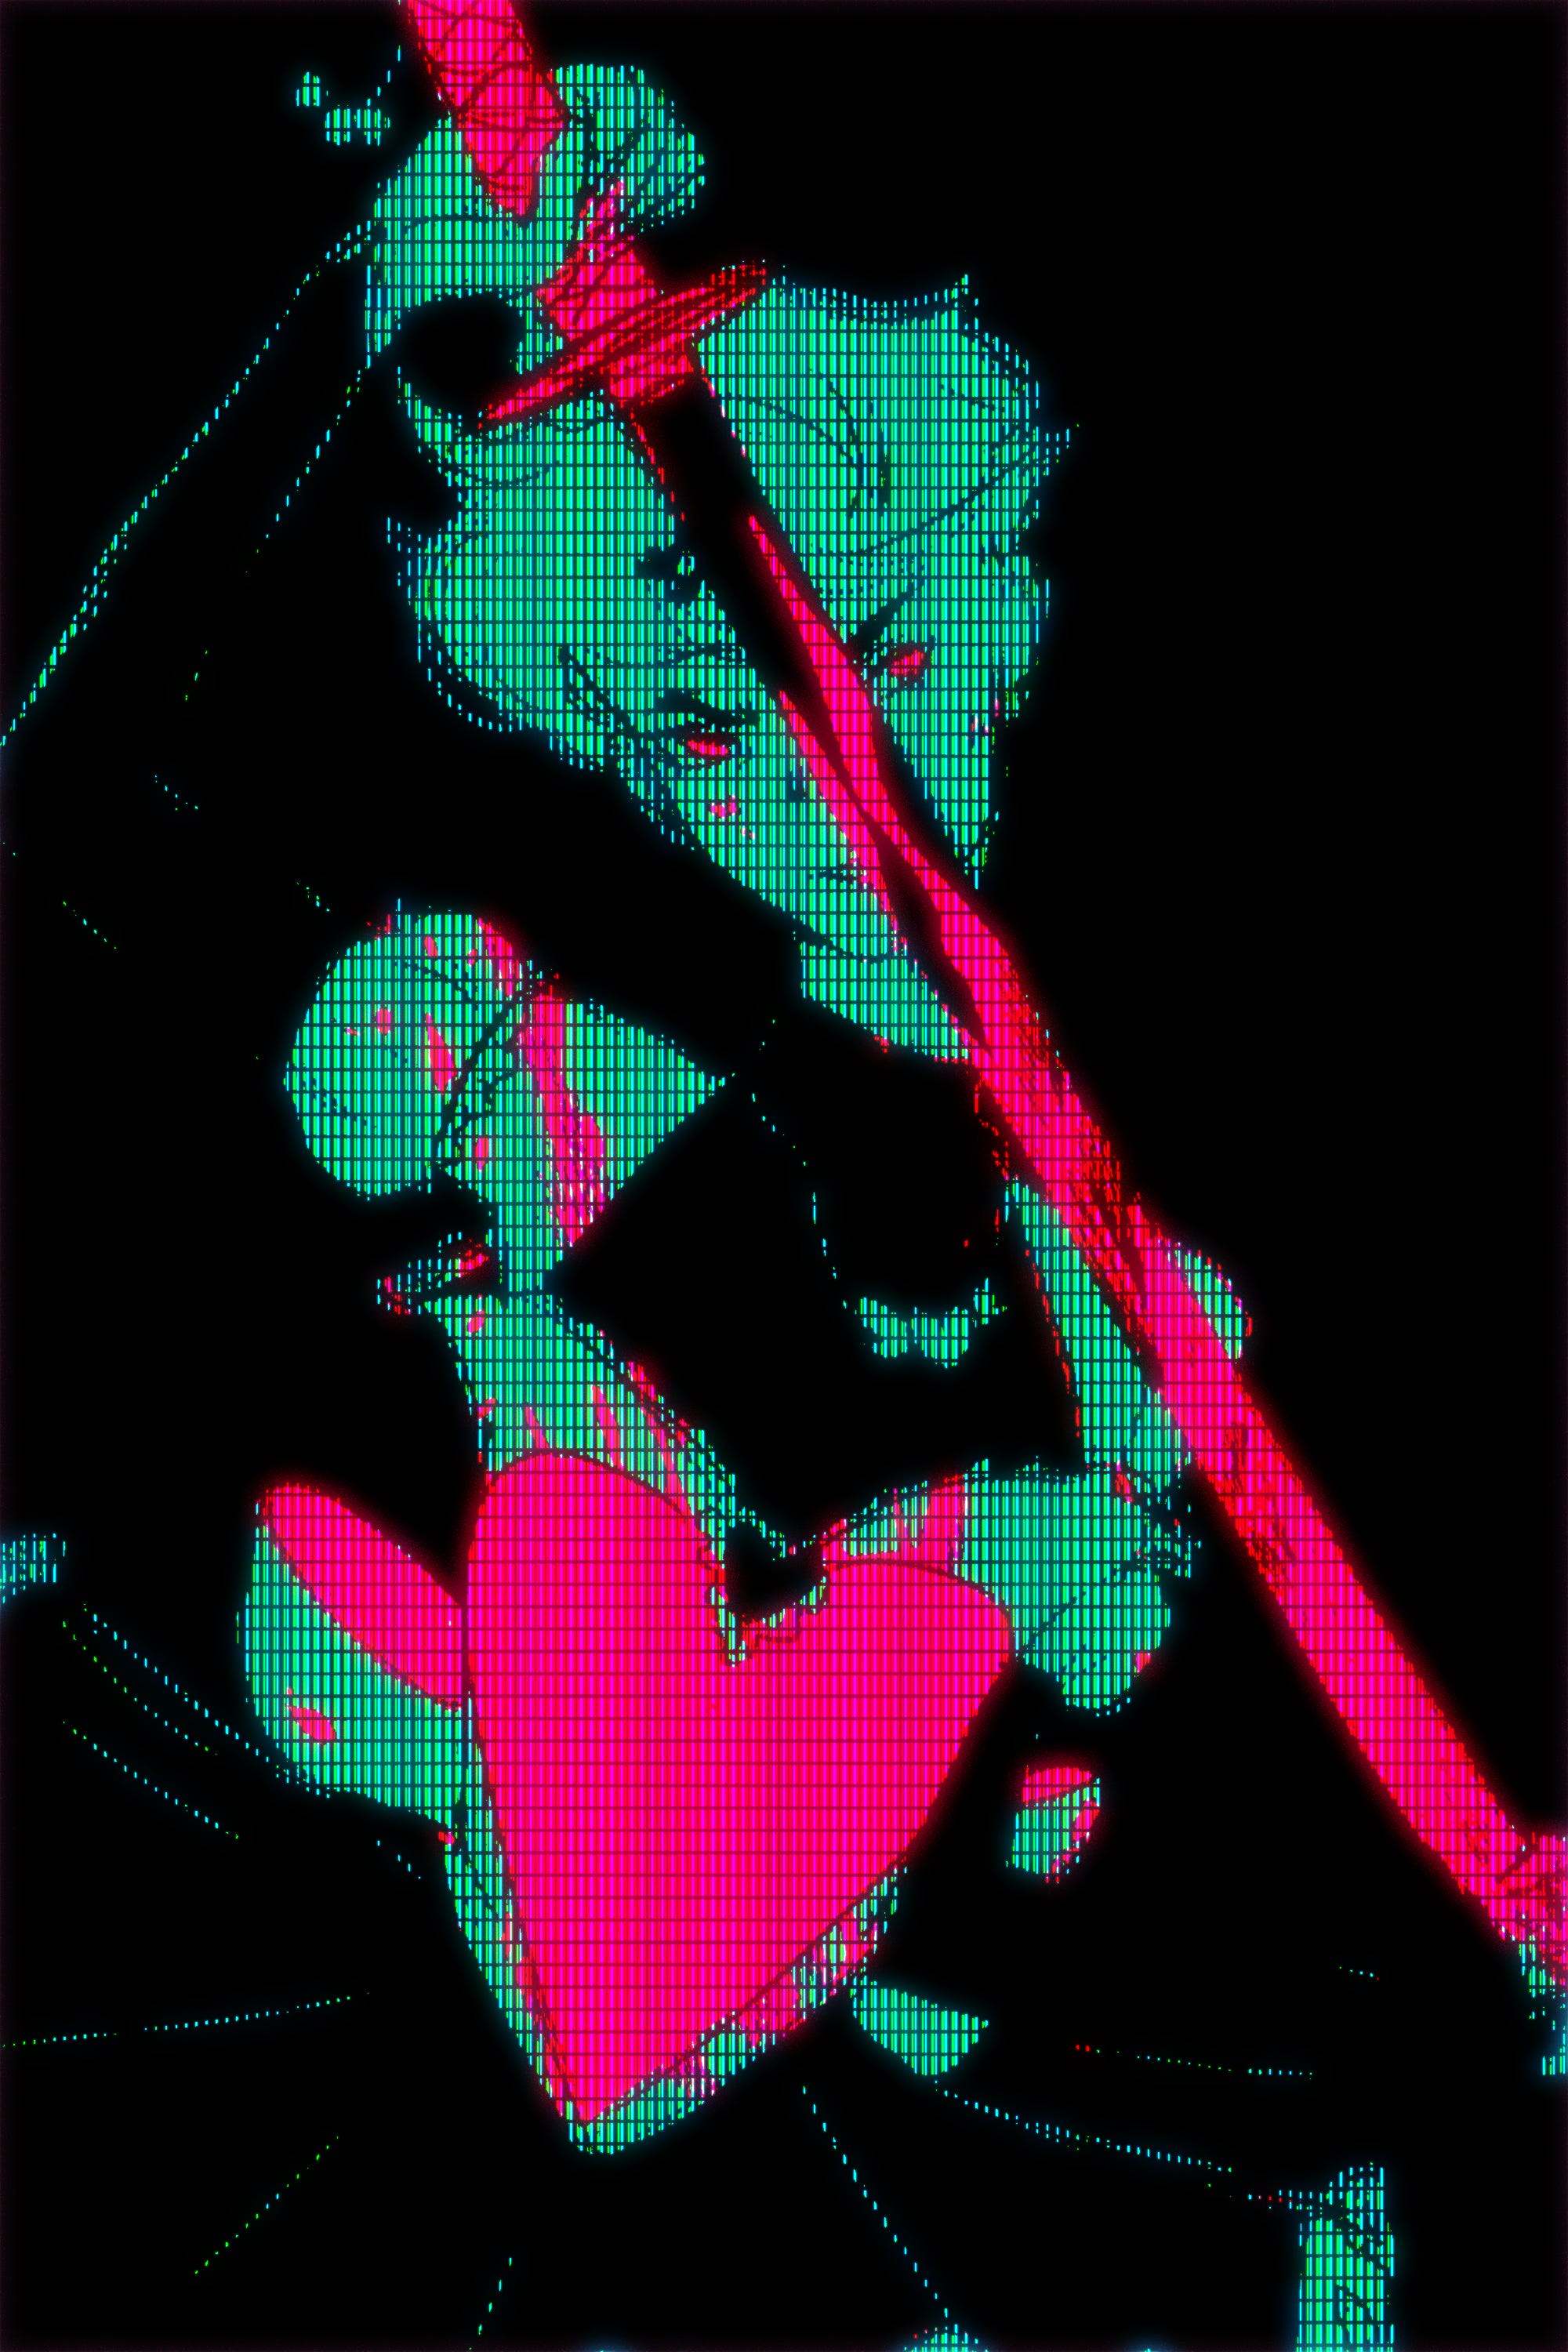
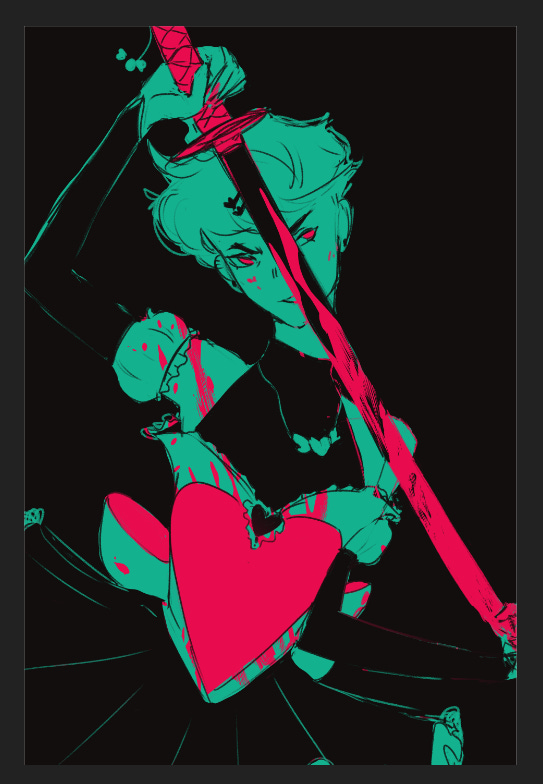
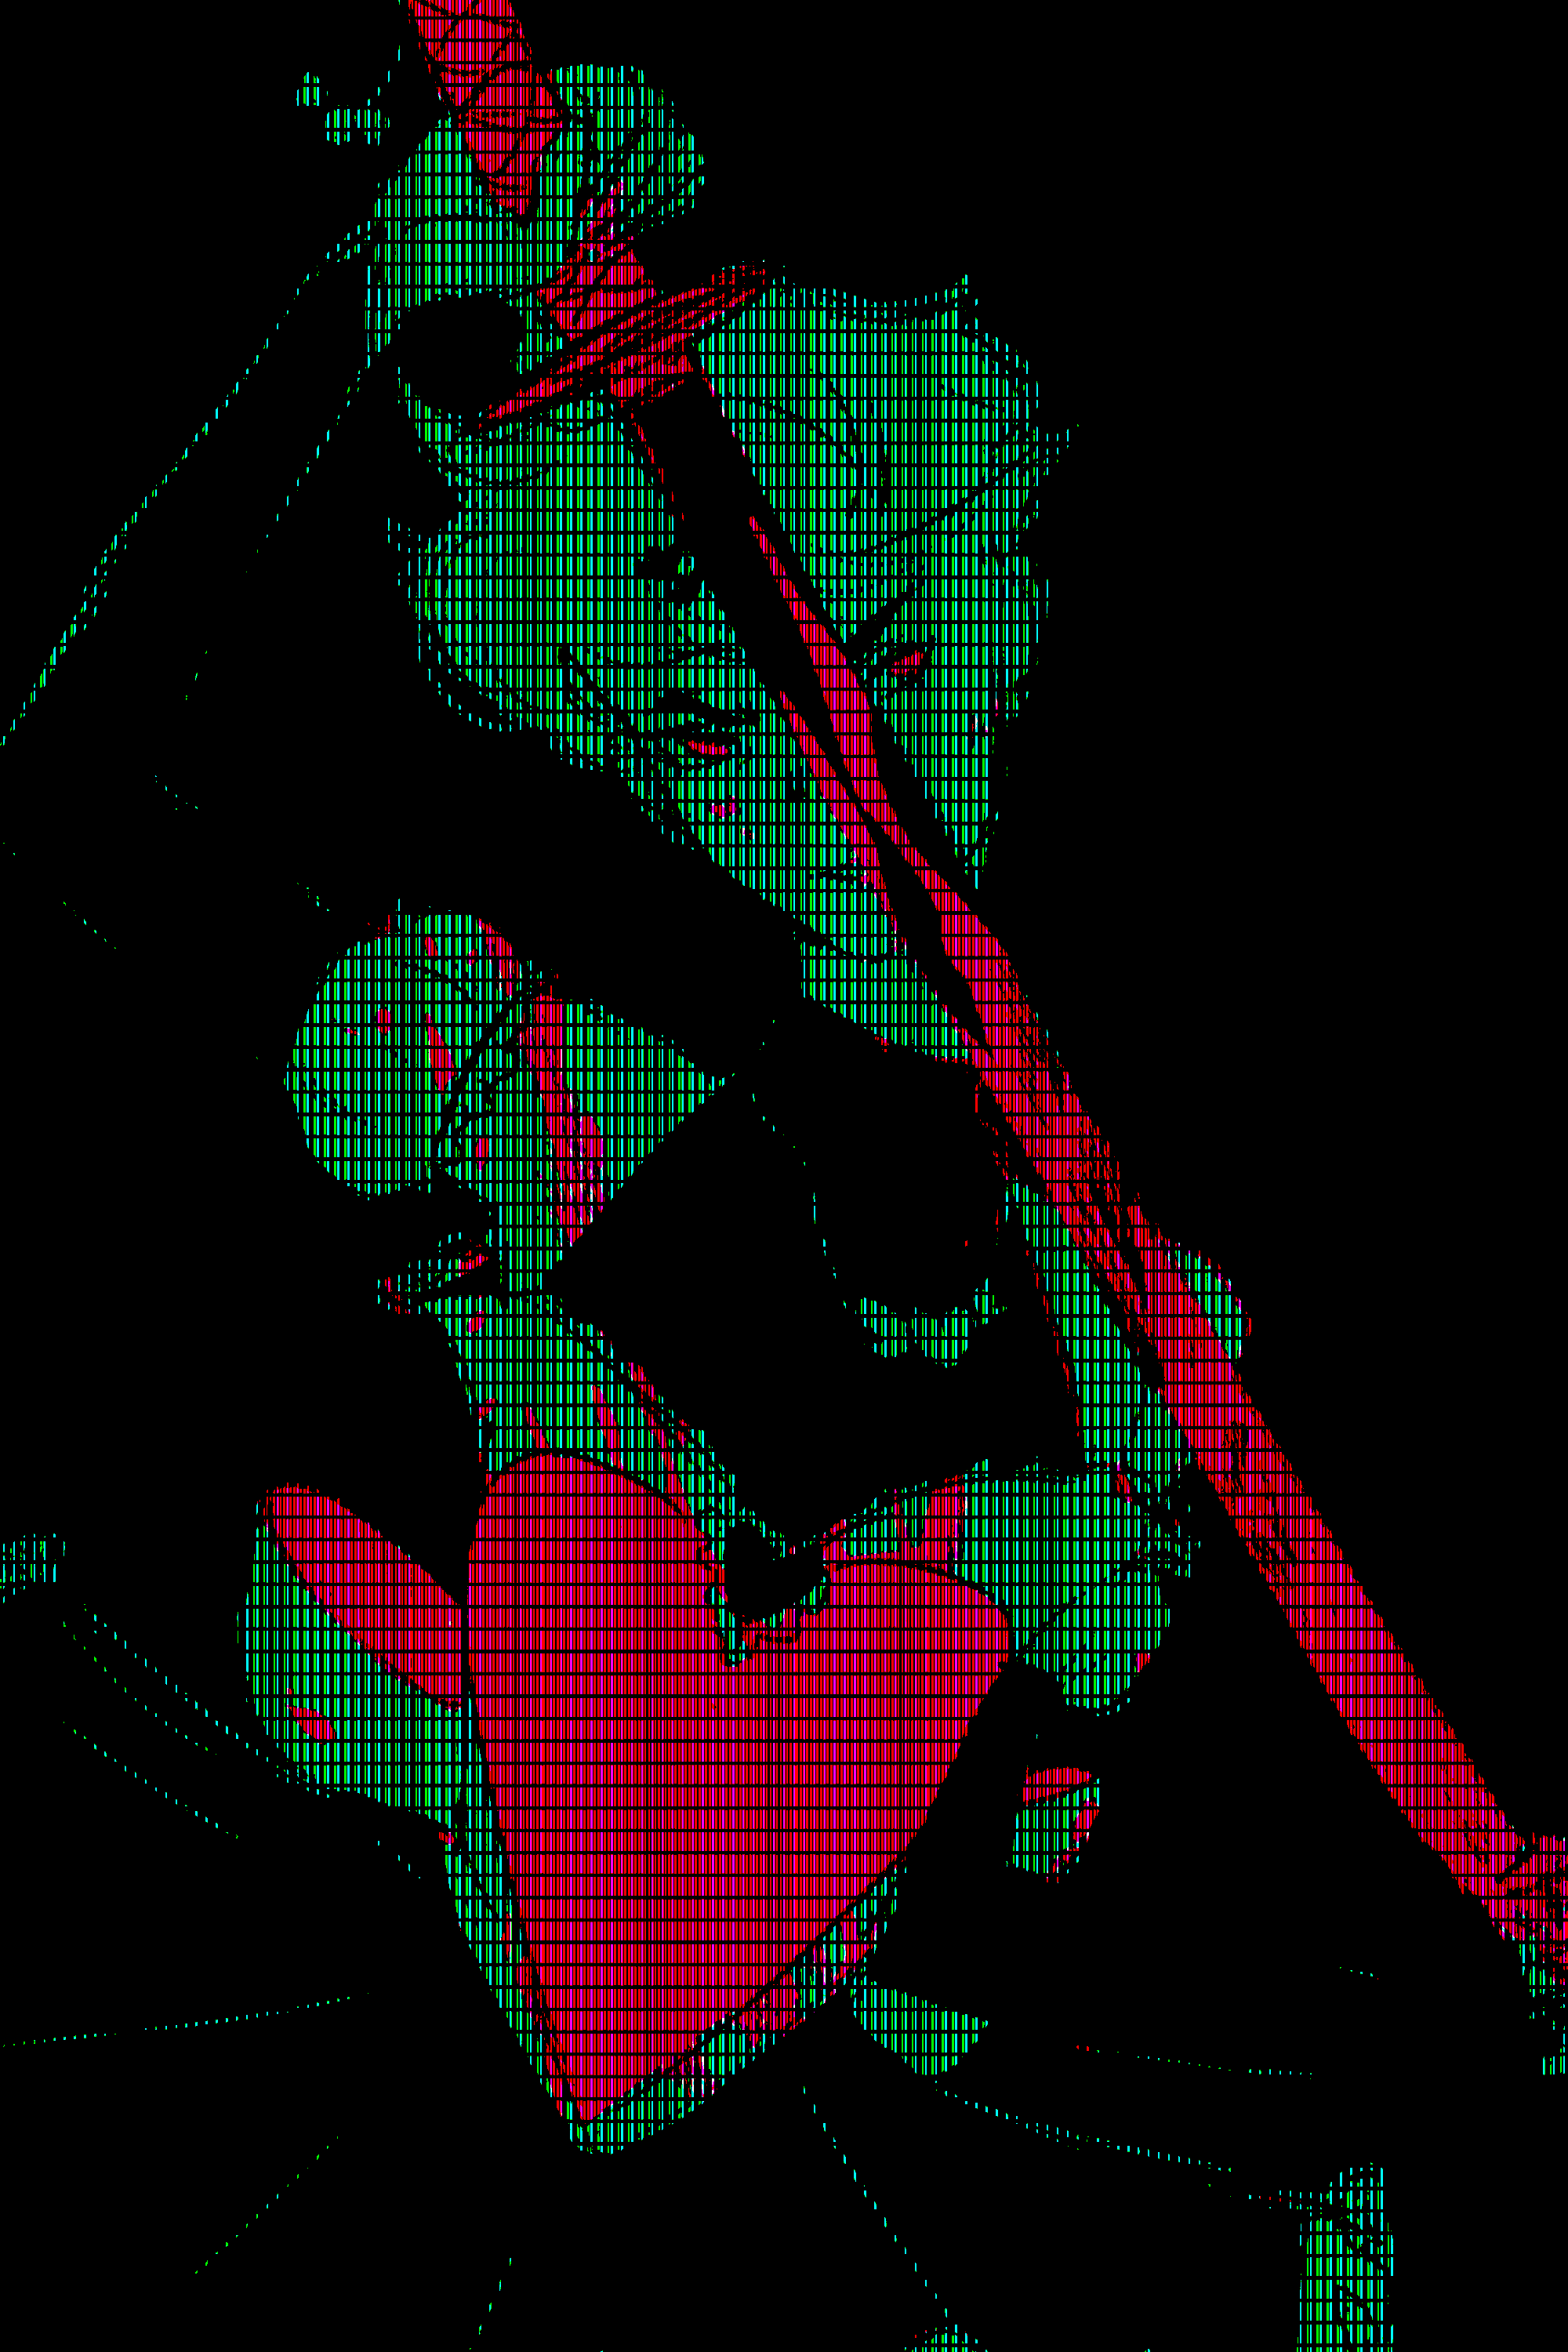
Have art with high contrast. I’m using this art I’ve drawn for Daisy Chainsaw.
Download the texture from >this link<, the one labeled PixelatePattern. (If this is ever taken down or changed, I’ll upload the pattern here.)
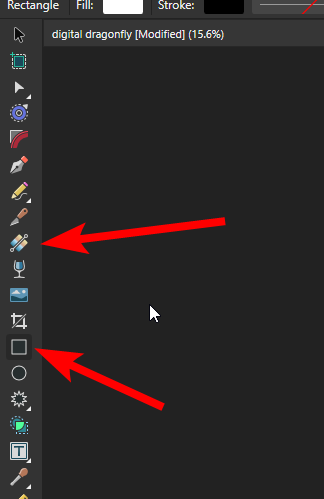
Use the Rectangle tool to draw a rectangle over the entire picture. Color doesn’t matter, because the next step is to click the fill tool to edit the rectangle you just drew.
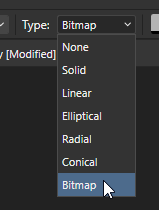
With the fill tool, select the dropdown next to “Type:” and click Bitmap. It will open a file browser. You’ll want to navigate & select where you put the Pixelate Pattern.
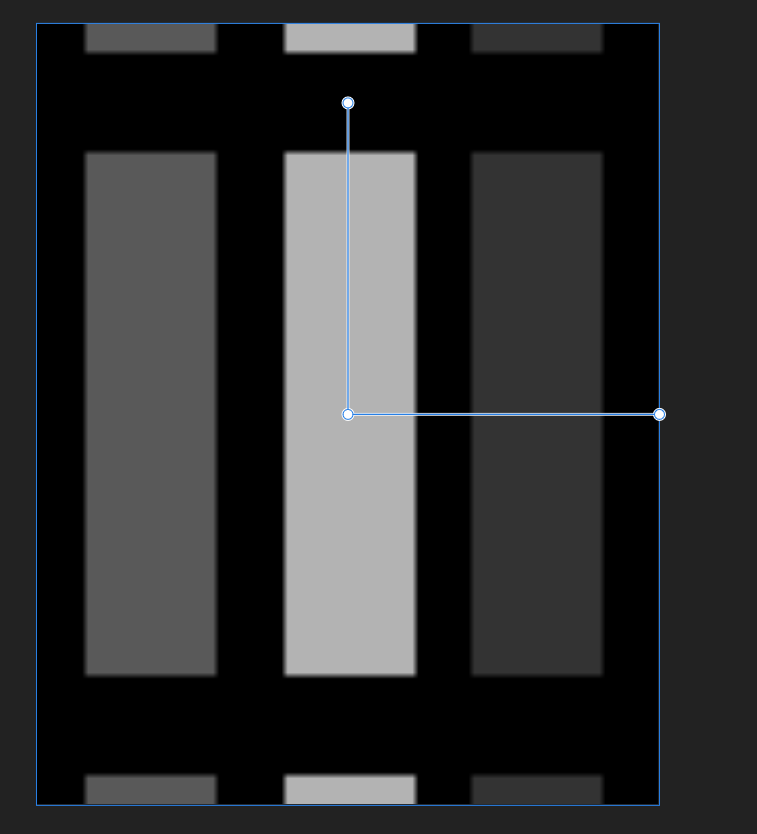
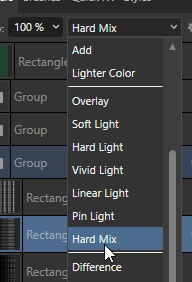
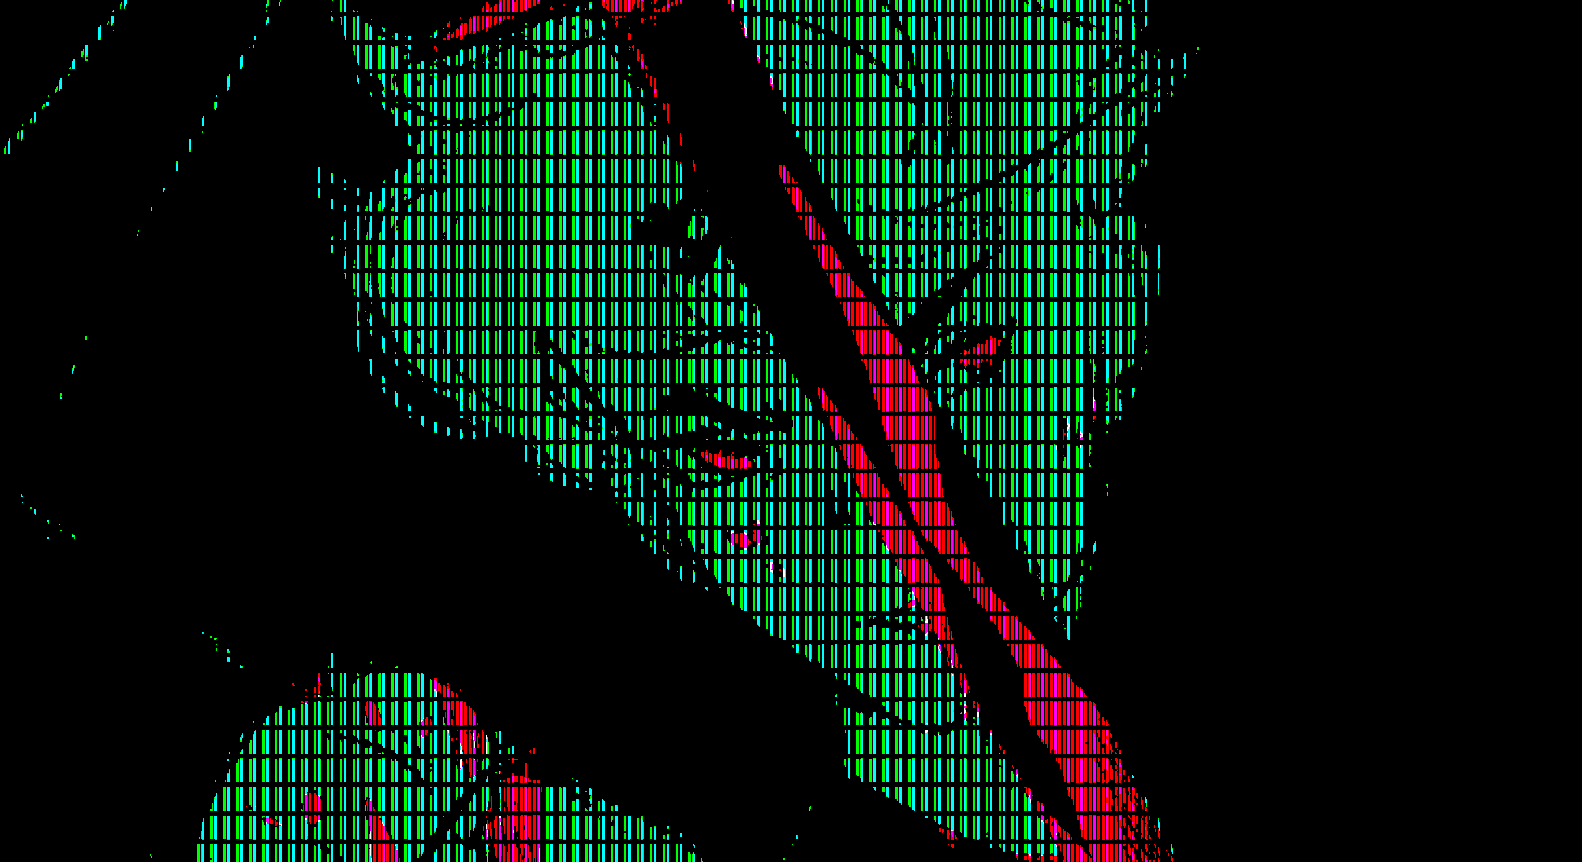
haped bars determine the size of the pattern, but first, navigate to the layers sidebar, and change the layer type from “Normal” to “Hard Mix”.
Now adjust the bars until it gets to a point of your liking. You can zoom into the canvas to adjust them even smaller. You’ll likely also find you want to adjust the contrast of your image with the Brightness and Contrast, Posterize, and Color Balance adjustments, too, to get it how you like.
In between the layer with the pattern and the art, add a new layer with the color of your choice, if not the color of the image already. This is highly variable, so you’ll have to mess around with the layer style and color choice to get what you want.
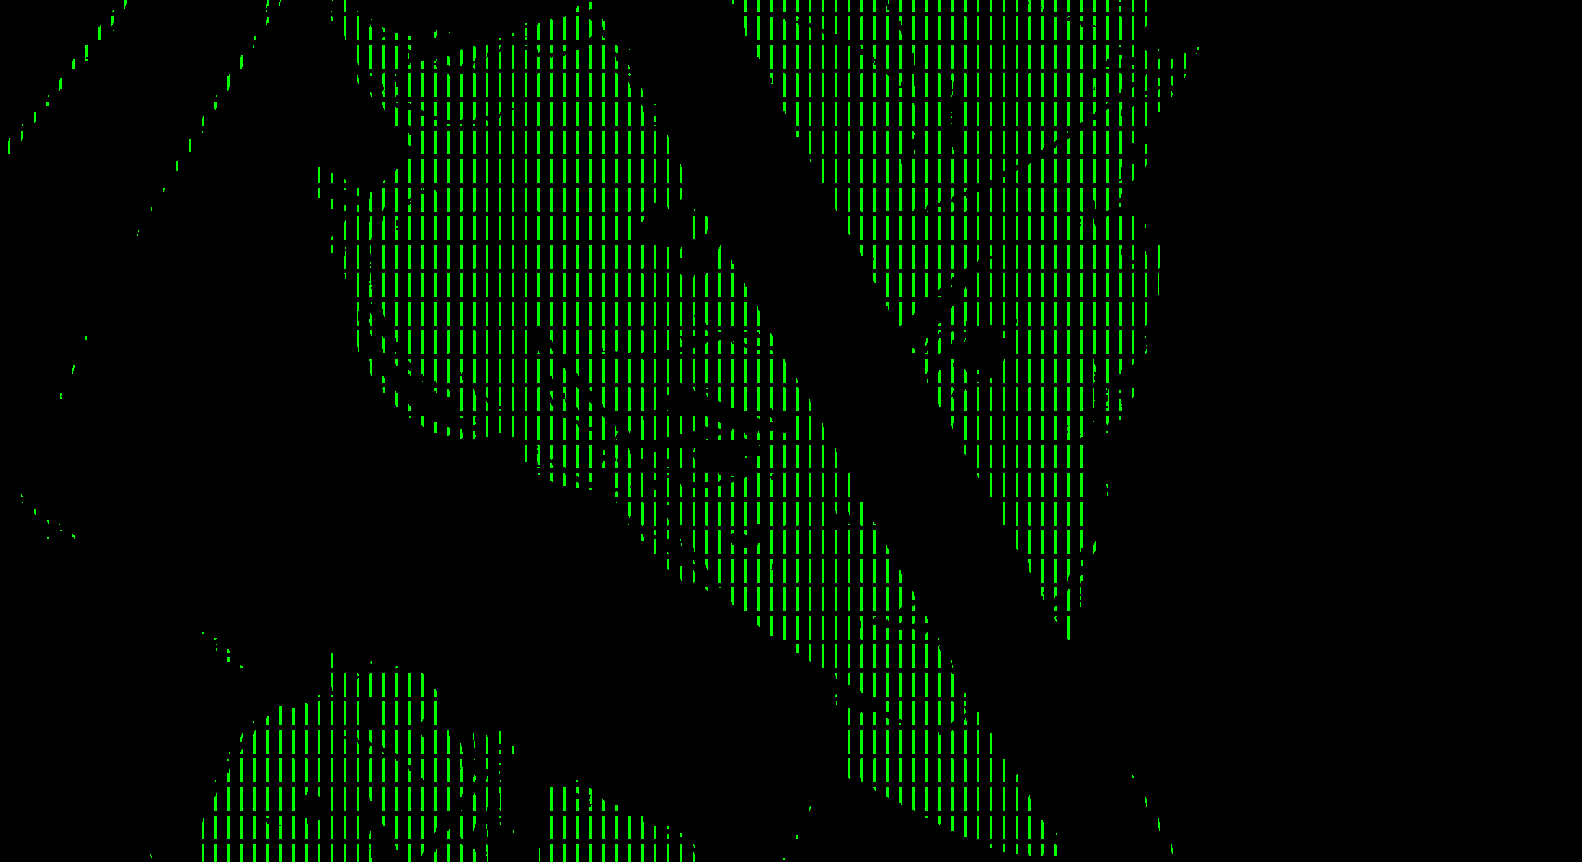
I like it better without the color layer, because I like the colors of the original image. It’s got a cool dual-toned effect with all the colors from the texture!
Shift+click all of your layers, right click, and group them. Duplicate that group. Set the group style to Screen, and then hit the FX button, still in the layer window.
Check the Gaussian blur box, and adjust until there is just a faint glow. Duplicate that group, and edit the Guassian blur until the glow is brighter, and adjust the group opacity to somewhere between 30-50%, based on personal taste. From here, you’ll have to do individual adjustments until you get exactly what you want. I added a color rectangle layer, adjusted the Noise of a dark magenta to maximum, and set it to Color Dodge at 25% opacity to add a bit of grain. My final result looks pretty neat, I think!